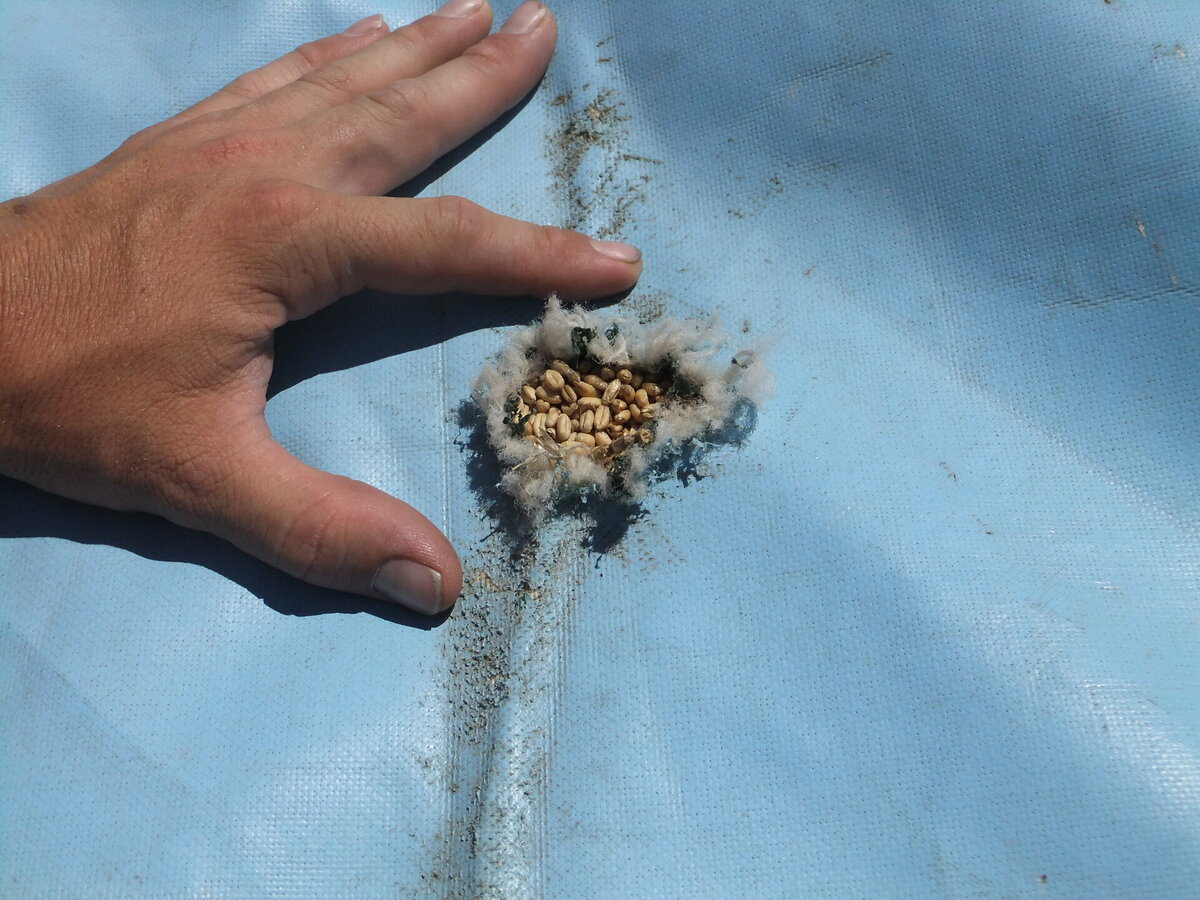
A small tear in your bunker cover might not seem like much today, but with wind, weather and the movement of the cover, it can quickly become a much larger and more expensive problem.
The good news is that most minor damage can be repaired successfully if it's dealt with early.
Our bunker covers are designed to be repaired, helping maximise their service life and protect your grain storage investment.
Here are our top tips for achieving a strong, long-lasting repair.

Top Tips for Patching Your Grain Bunker Cover
Top Tips for a Successful Repair
1. Repair Damage Early
Even a small puncture can quickly grow as the cover moves in the wind. Inspect your bunker cover regularly and repair any damage as soon as it's discovered.
2. Clean the Area First
Clean the repair area by removing as much dirt, dust, grain residue and moisture as possible before starting the repair. A clean, dry surface gives the repair tape the best chance of bonding properly.
3. Use the Right Repair Products
Heavy-duty bunker covers require quality repair products designed for agricultural fabrics. We recommend Butyl Tape with a tarp material backing. This unique tape is laminated with the same tarp material, making the repair UV resistant and as strong and durable as the cover itself.
4. Patch Beyond the Damage
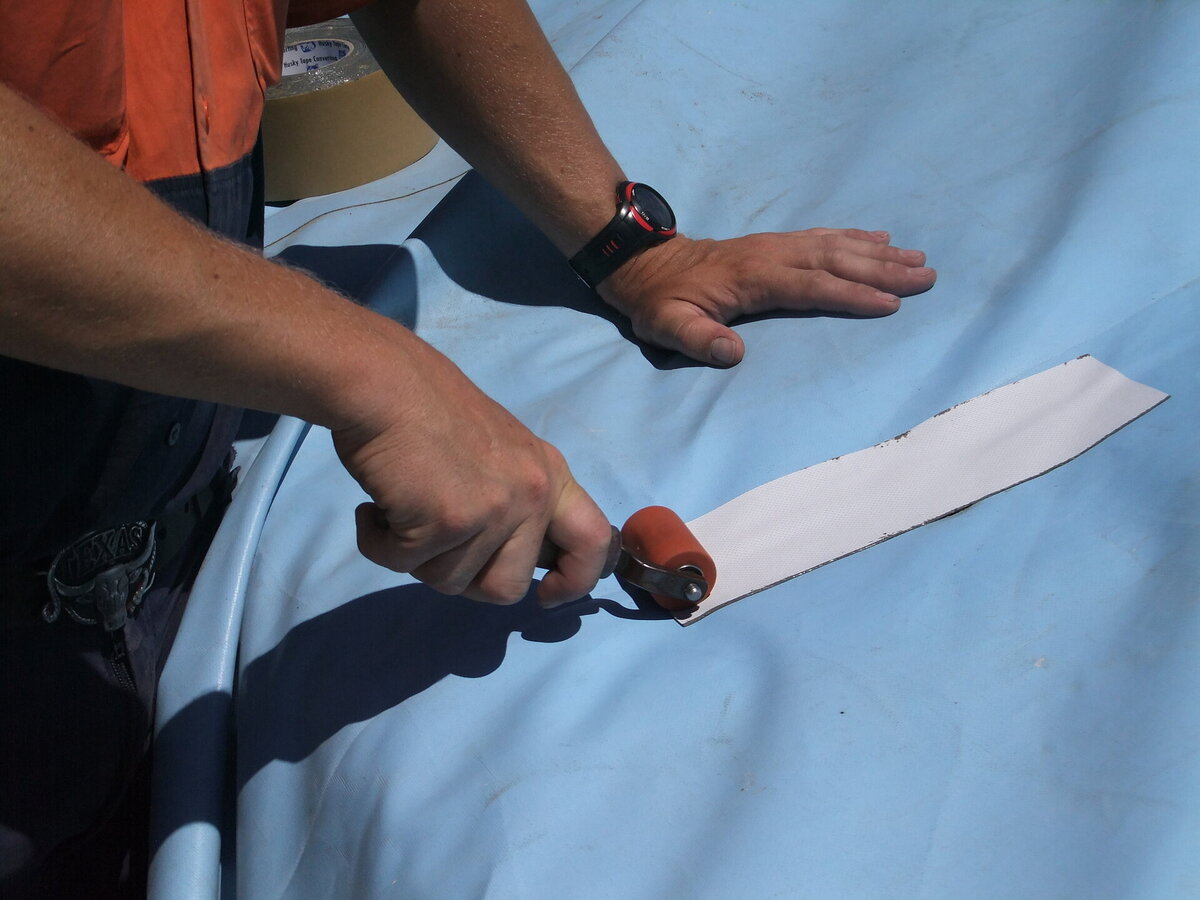
Don't just cover the tear itself. Your repair patch should extend at least 50-100mm beyond the damaged area on all sides to help distribute the load and prevent the tear from continuing.
5. Repair Both Sides Where Possible
Applying a patch to both sides of the cover provides additional strength, particularly for larger tears or high-stress areas. This is generally only practical when carrying out repairs before the season, while the cover not deployed over the bunker.
6. Inspect Before Harvest
Before filling your bunker, check for worn areas and any previous repairs that may need attention. Spending a few minutes inspecting your cover can help avoid bigger problems during harvest
Common Repair Mistakes to Avoid
❌ Waiting too long before repairing a tear.
❌ Applying repair tape to a dirty or damp surface.
❌ Using ordinary duct tape as a permanent repair.
❌ Using patches that are too small.
❌ Not applying enough pressure to activate the adhesive properly.
5-Step Bunker Cover Repair Guide
Step 1 – Inspect the Damage
Check the size of the tear.
Make sure the surrounding material is still in good condition.
Step 2 – Clean the Area
Remove dust and grain residue.
Wipe the area clean and allow it to dry completely.
Step 3 – Apply the Tape
Remove the backing film and position the adhesive side of the repair patch over the damaged area.
Step 4 – Apply Pressure to the Tape to Adhere
Firmly press the patch into position.
Use a roller (such as the silicone pressure roller below) to apply firm, even pressure across the entire patch to activate the adhesive.
Apply a second patch to the opposite side if possible.
Step 5 - Check the Repair
- Ensure all edges are securely bonded.
Alternative Repair Method
If you have access to the appropriate equipment, patches can also be applied using a hand-held hot air welder. After cleaning the repair area, use the hot air gun (such as the one below) to weld a matching patch onto the cover in place of the adhesive tape. This method provides a permanent repair but requires the correct equipment and operator experience.
ℹ️ Need Some Advice?
Whether you need repair tape, spare patch material or you're unsure whether your bunker cover is worth repairing, our team is happy to help.
Give us a call or send us a few photos, and we'll recommend the most suitable repair option—or let you know if it's time to consider a replacement cover.


© 2026 | Ellis & Sons
Website 

Filter


Contact Us
Is a product you’re after not listed? Contact us today to discuss a custom solution.