After going through the step by step process of filling the bunker last month, this month we will be taking you through the fitting of the cover.
Grain Bunker Storage Part 7: Fitting the Cover
How We Make it easier and Faster for You!
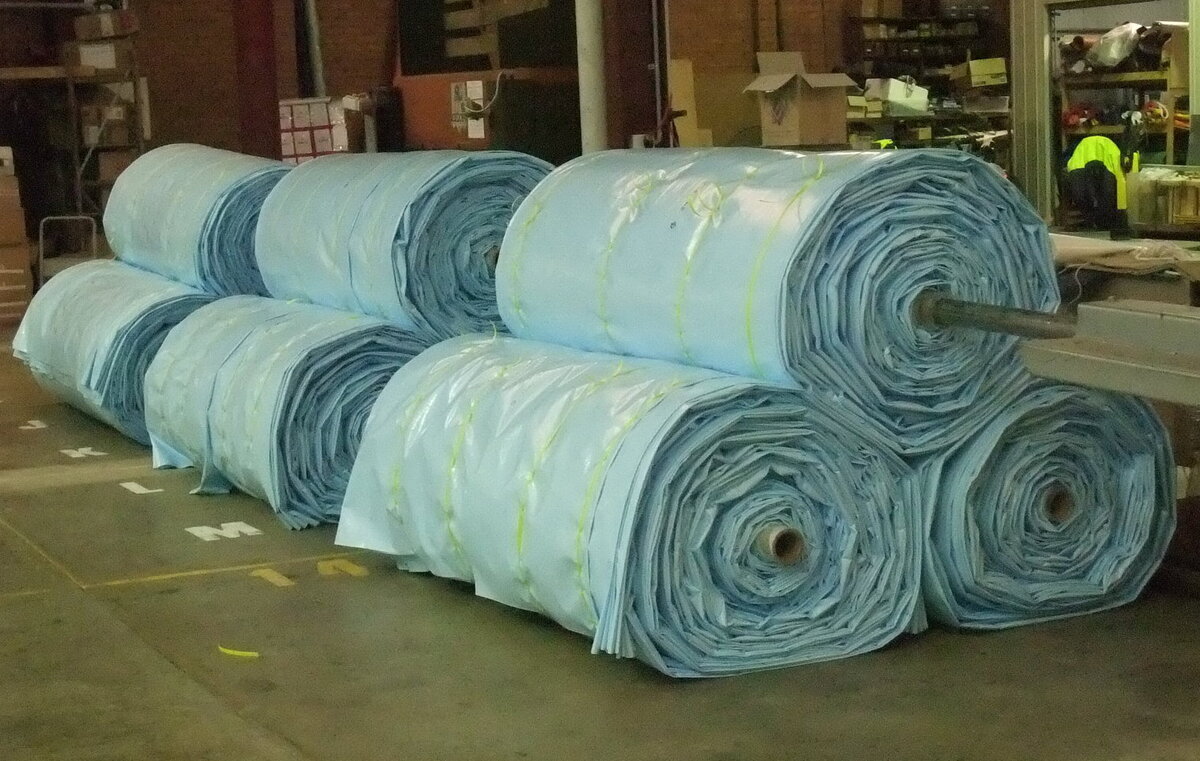
Fitting the cover can be a time-consuming process, so making the process easier and faster for you starts right back with us during the cover manufacturing process. When we manufacture the cover we concertina fold the cover and then roll it onto a either a steel or heavy-duty cardboard core, depending on the weight of the cover.
When deploying the cover, simply roll the tarp out from the core at the filled end of the bunker. You will now have a 2m wide concertina stack of the cover at the end of the bunker. From this, you pick up the leading edge of the cover and pull lengthwise down the bunker and the cover will unfold from the pile as you pull, meaning you won’t be lifting the whole weight of the cover.
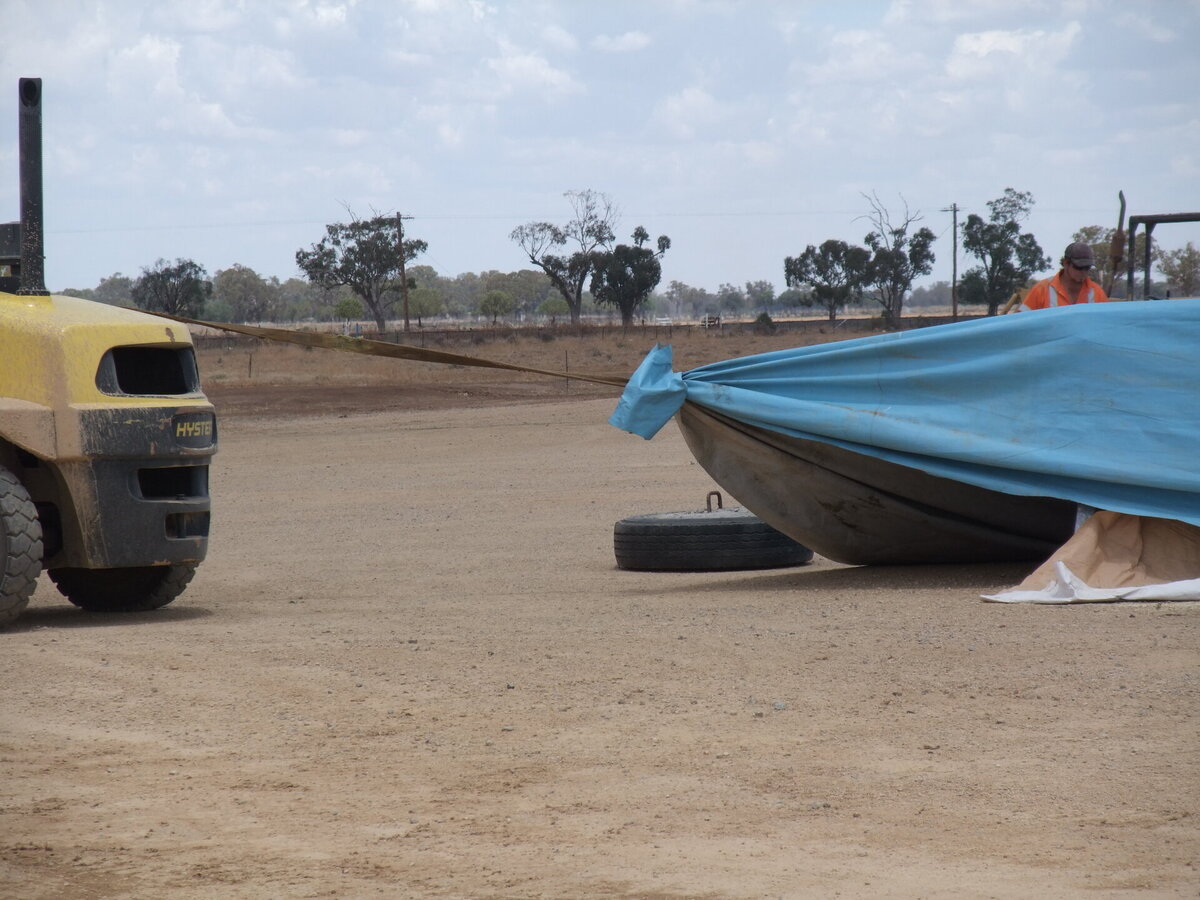
You will usually need a person in the centre of the cover to lift the cover as it slides over the grain to prevent it burying into the grain and getting caught. Depending on the size of the cover, at the sides you may choose to bunch the fabric up and tie a soft rope around the corners and use a vehicle each side to assist with pulling the cover over. Smaller covers will be able to be installed by hand. Note, ensure that you only use a soft rope, as harsher ropes can cut the fabric and destroy the corner.
The bunker does not have to be completely full before starting to cover the grain - just ensure that the cover is secured with some weights if it is left open for extended periods of time. Do not attempt to handle the cover during in windy conditions as it will quickly become unmanageable.
On site management is necessary for successful storage. The cover will provide several seasons of use with positive care and attention. With this in mind, avoid driving on the cover during filing, and avoid objects with sharp projections which may damage the cover.
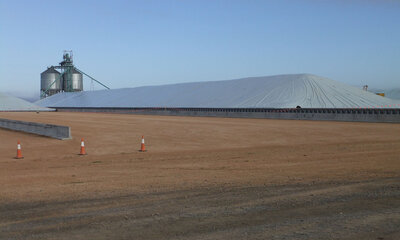
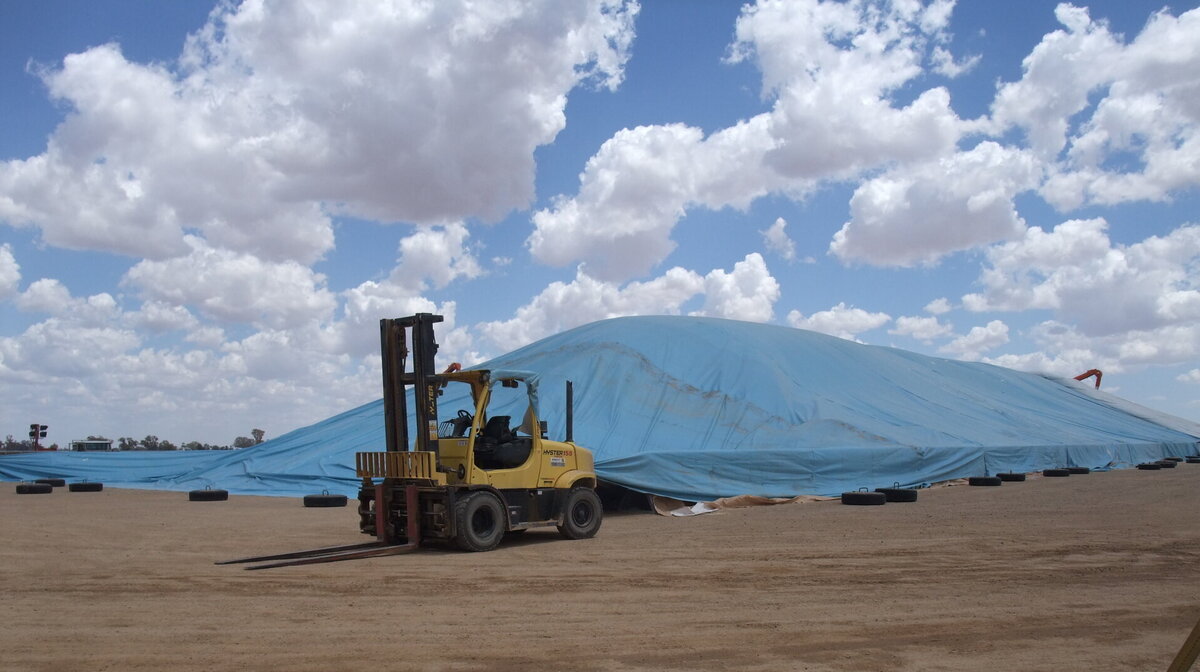
The cover is tensioned over the banks of the bunker to protect them from erosion by water (if they are an earthen wall), and the ends and edges are finally sealed. To restrict wind flap (often created from the bubble of air caught under the cover) use tyres filled with concrete or earth filled bags strategically placed along the length of the bunker – wear patches are recommended under the tyres or bags to prevent scuffing.
So this concludes fitting the cover. Coming up in the next issue, we will jump into sealing the cover.
Until next time….
We hope it find this helpful; it’s just one of the things we do to give our customers the service they expect!
Check out our Grain Bunker Tarps here!
Need accessories to install or repair your grain bunker tarp?